I just wrapped up a project that took the better part of 2 months to complete, and I’m looking down the barrel of another challenge I gave myself.
But before I hit that slog I wanted to take a break and stretch some muscles that haven’t been getting used.
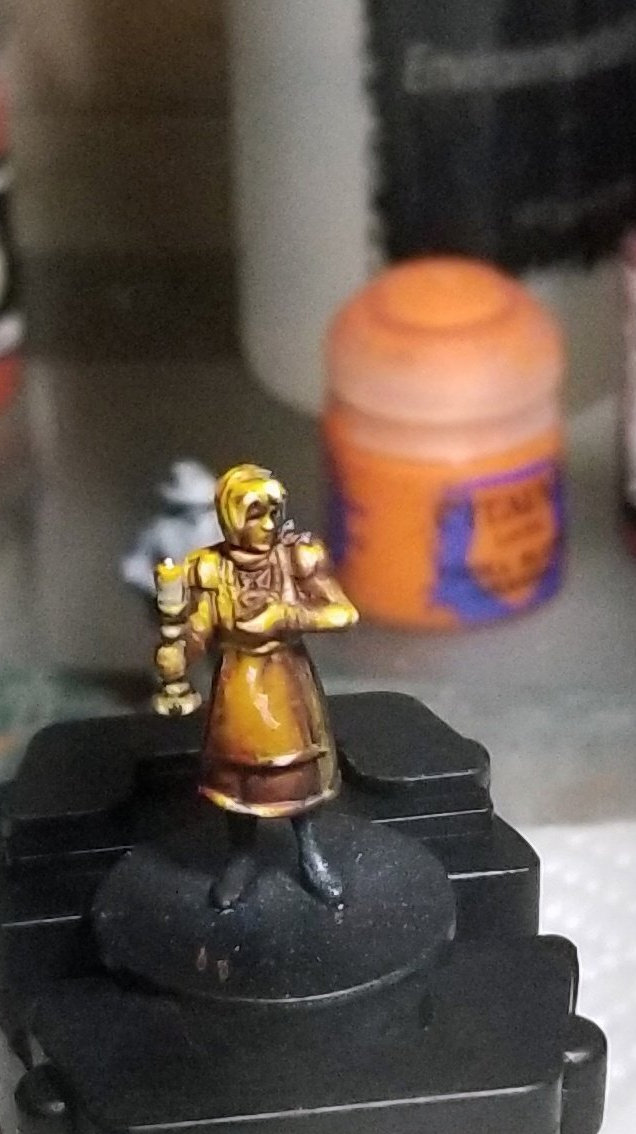
The idea behind this wasn’t to finish an eye pleasing piece, but more to experiment with placing shadows and different values and hues to simulate the light coming from the candle.
I have an unpainted box of Mansions of Madness minis laying around and thought this would be a great opportunity to really go out there and try some things I’ve never done before. Above, I wanted to emulate a piece I saw on CMON that uses only OSL to provide light and color on the model. I really don’t have a lot of experience with this technique as it’s a pretty good way to screw up an otherwise serviceable paint job, so a small model that lives in a box seemed like a good way to practice.
Instead of giving the model static form and shape by painting the flesh tones and her dress, I wanted to try to tell a story by just using a few colors. By using only yellows oranges and reds, I tried to give the feeling that she was lost in a truly dark place with only a small candle to provide any light. Which seemed appropriate given the she comes from a game about exploring a mansion haunted by H.P. Lovecrafts various eldar gods. Unfortunately, this effect comes off a bit exaggerated here, more like she’s in the middle of a raging inferno, but it was a fun learning exercise anyway.
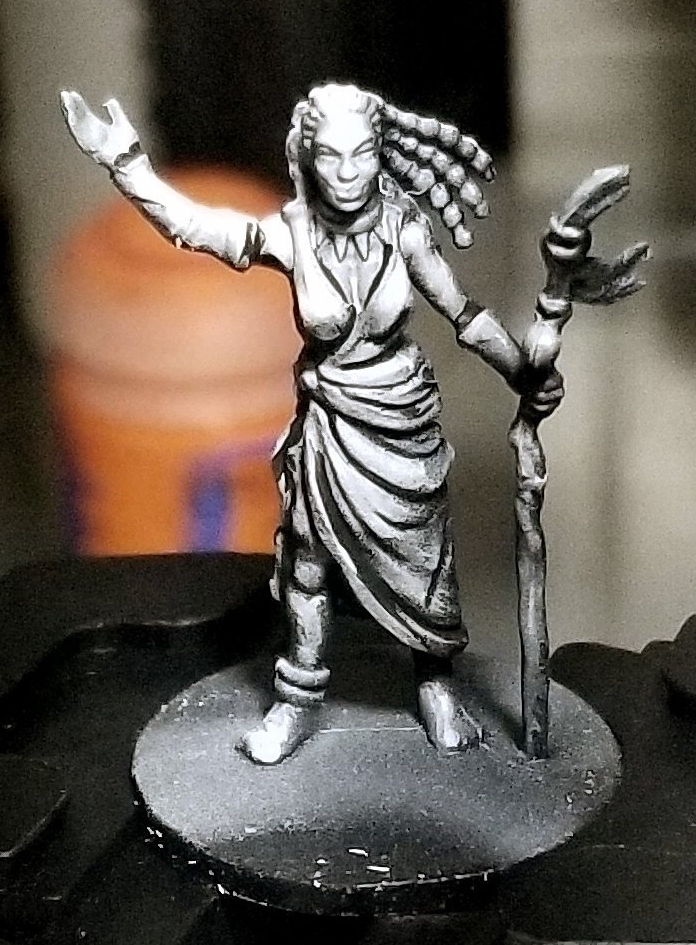
Where the OSL piece was pretty much just for the fun and experience of the process. Sketching and black lining the models in preparation for a project is a skill that needs to be developed and worked on over time, and it’s one that I don’t use enough. The creases on this shaman’s dress and the lines of her dreads gave a pretty straight forward guide of where to highlight and line with black.
I’ve never really done something like this before, but the general Idea is to prime the model black, then apply white to the raised surfaces where we want light to reflect the most, once our highlights are dry, all the dark recesses where we want our shadows get lined carefully with an unthinned flat black. When we are finished we should be looking at a nice blueprint of where to begin adding out highlights and shadows.
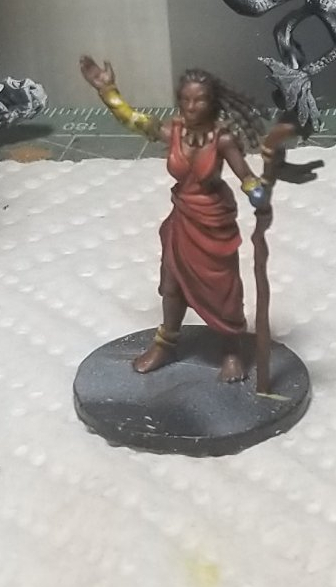
Once the colors are added, following the guideline in the sketch you can see the highlights much more effectively.
I can’t stress how much this skill improves, if not the quality of the finished work, at least my confidence in the process. It’s something that I’ll have to work to practice more and more, but in the end it can only help to improve.
